Ingredients
Equipment
Method
Prepare the Crust
- Begin by crushing the Biscoff cookies into fine crumbs using a food processor, achieving a uniform texture.
- In a mixing bowl, combine the crumbs with melted butter and a pinch of salt, mixing until fully incorporated.
- Press this mixture evenly into the bottom of an 8x8 inch baking pan, ensuring it's compact.
- Chill the crust in the refrigerator for 20 minutes to firm up.
Make the Filling
- While the crust is chilling, whip the heavy cream in a large bowl using an electric mixer until stiff peaks form, typically taking about 3-5 minutes.
- In a separate bowl, beat the softened cream cheese, granulated sugar, vanilla extract, cinnamon, and a pinch of salt together until smooth and creamy.
- Next, mix in the melted Biscoff cookie butter until well blended, carefully lifting in the whipped cream to maintain its airy texture.
Assemble the Cheesecake
- Once the filling is well-mixed, take the chilled crust from the refrigerator and pour the creamy cheesecake filling over it, spreading it evenly with a spatula.
- Cover the pan tightly with plastic wrap and refrigerate the assembled cheesecake for at least 6 hours, but overnight is best for achieving the perfect slices of your No Bake Biscoff Cheesecake Bars.
Top the Cheesecake
- After the cheesecake has set, gently warm the remaining Biscoff cookie butter in the microwave for about 15-20 seconds until pourable.
- Carefully drizzle this warmed cookie butter over the surface of the cheesecake, ensuring an even layer.
- Return it to the refrigerator for an additional 30 minutes to allow the topping to set nicely.
Serve
- After chilling, remove the cheesecake from the refrigerator and lift it out of the pan using the edges of the plastic wrap.
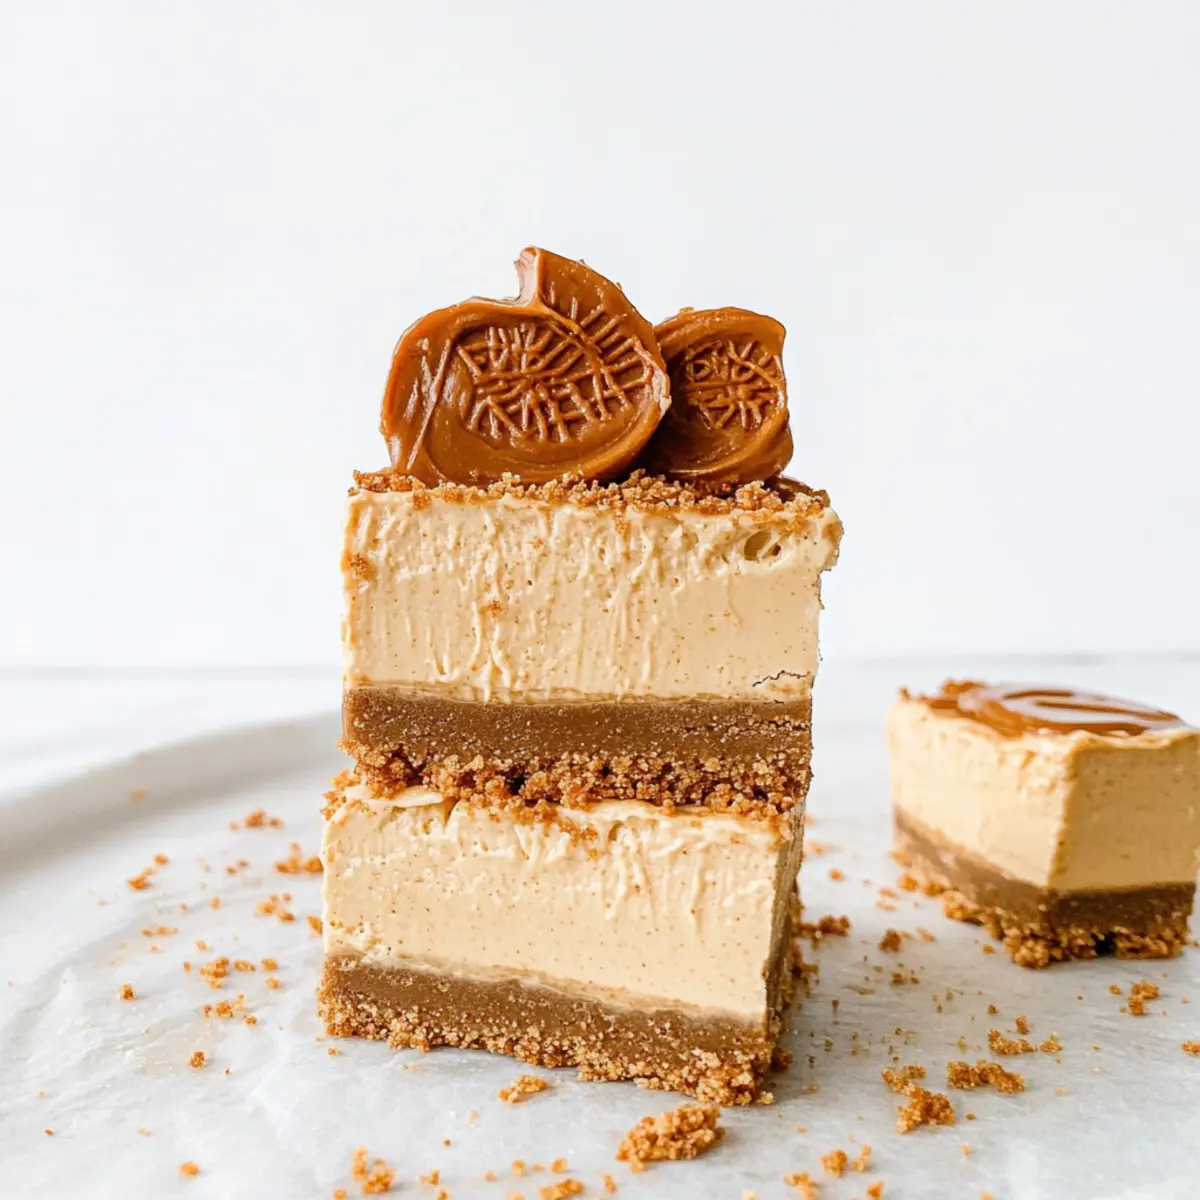
- Cut it into squares or bars, and sprinkle the crushed Biscoff cookies on top for an extra crunchy garnish.
- Serve your delightful No Bake Biscoff Cheesecake Bars chilled and enjoy the compliments from your eager friends and family!
Nutrition
Notes
Ensure all ingredients are at room temperature for the best results. Whip the cream carefully to maintain its airy texture.